Title here
Summary here
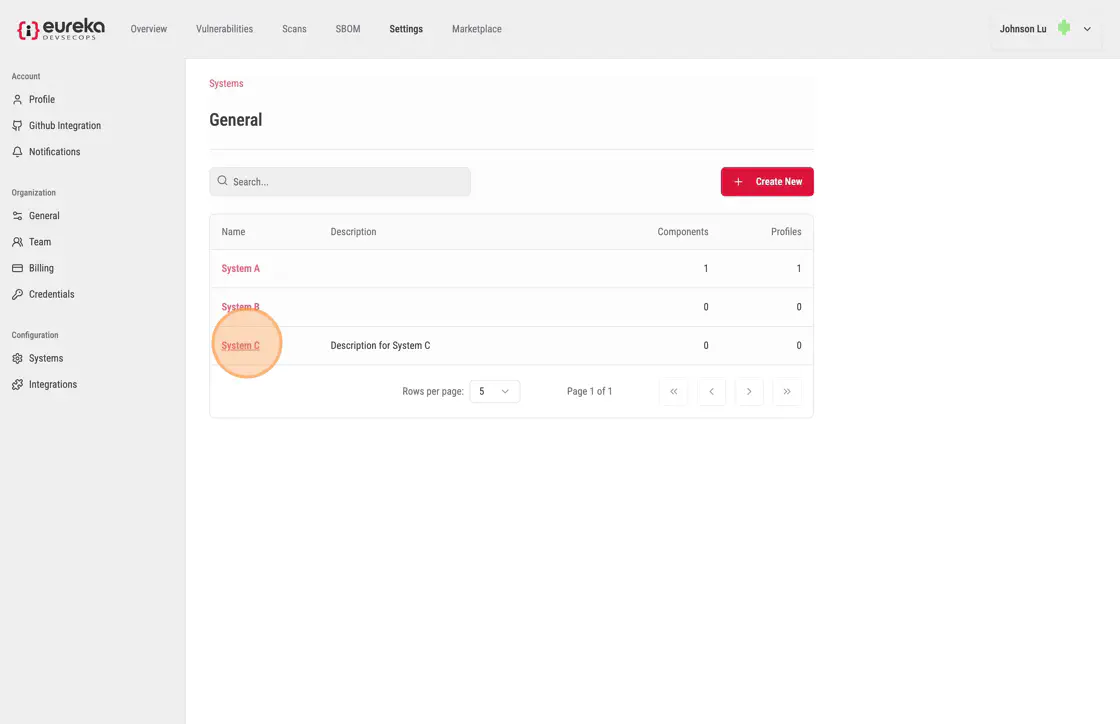
A system represents an application and all its components. For example, one application system may be composed of a front end, a back end, a database, and other services.
In the systems section, you will see a list of systems. To access a system, click on one of the system names.

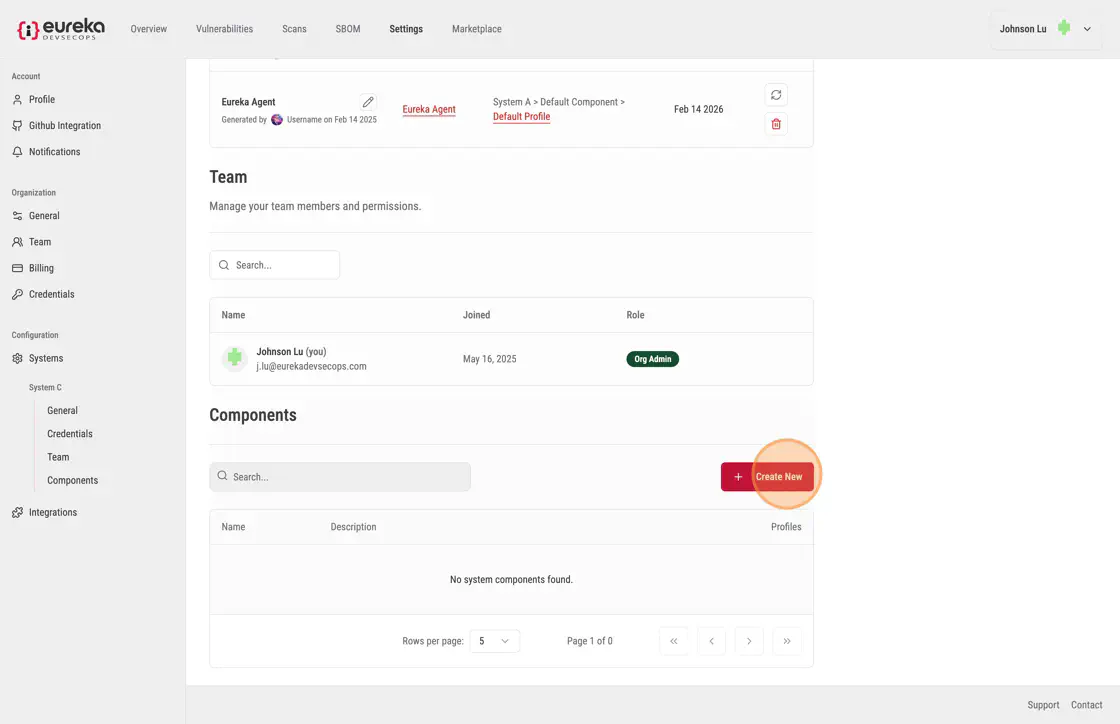
Within the system page, there is a team section. Within this section, you can modify the level of access individual team members have to this system.
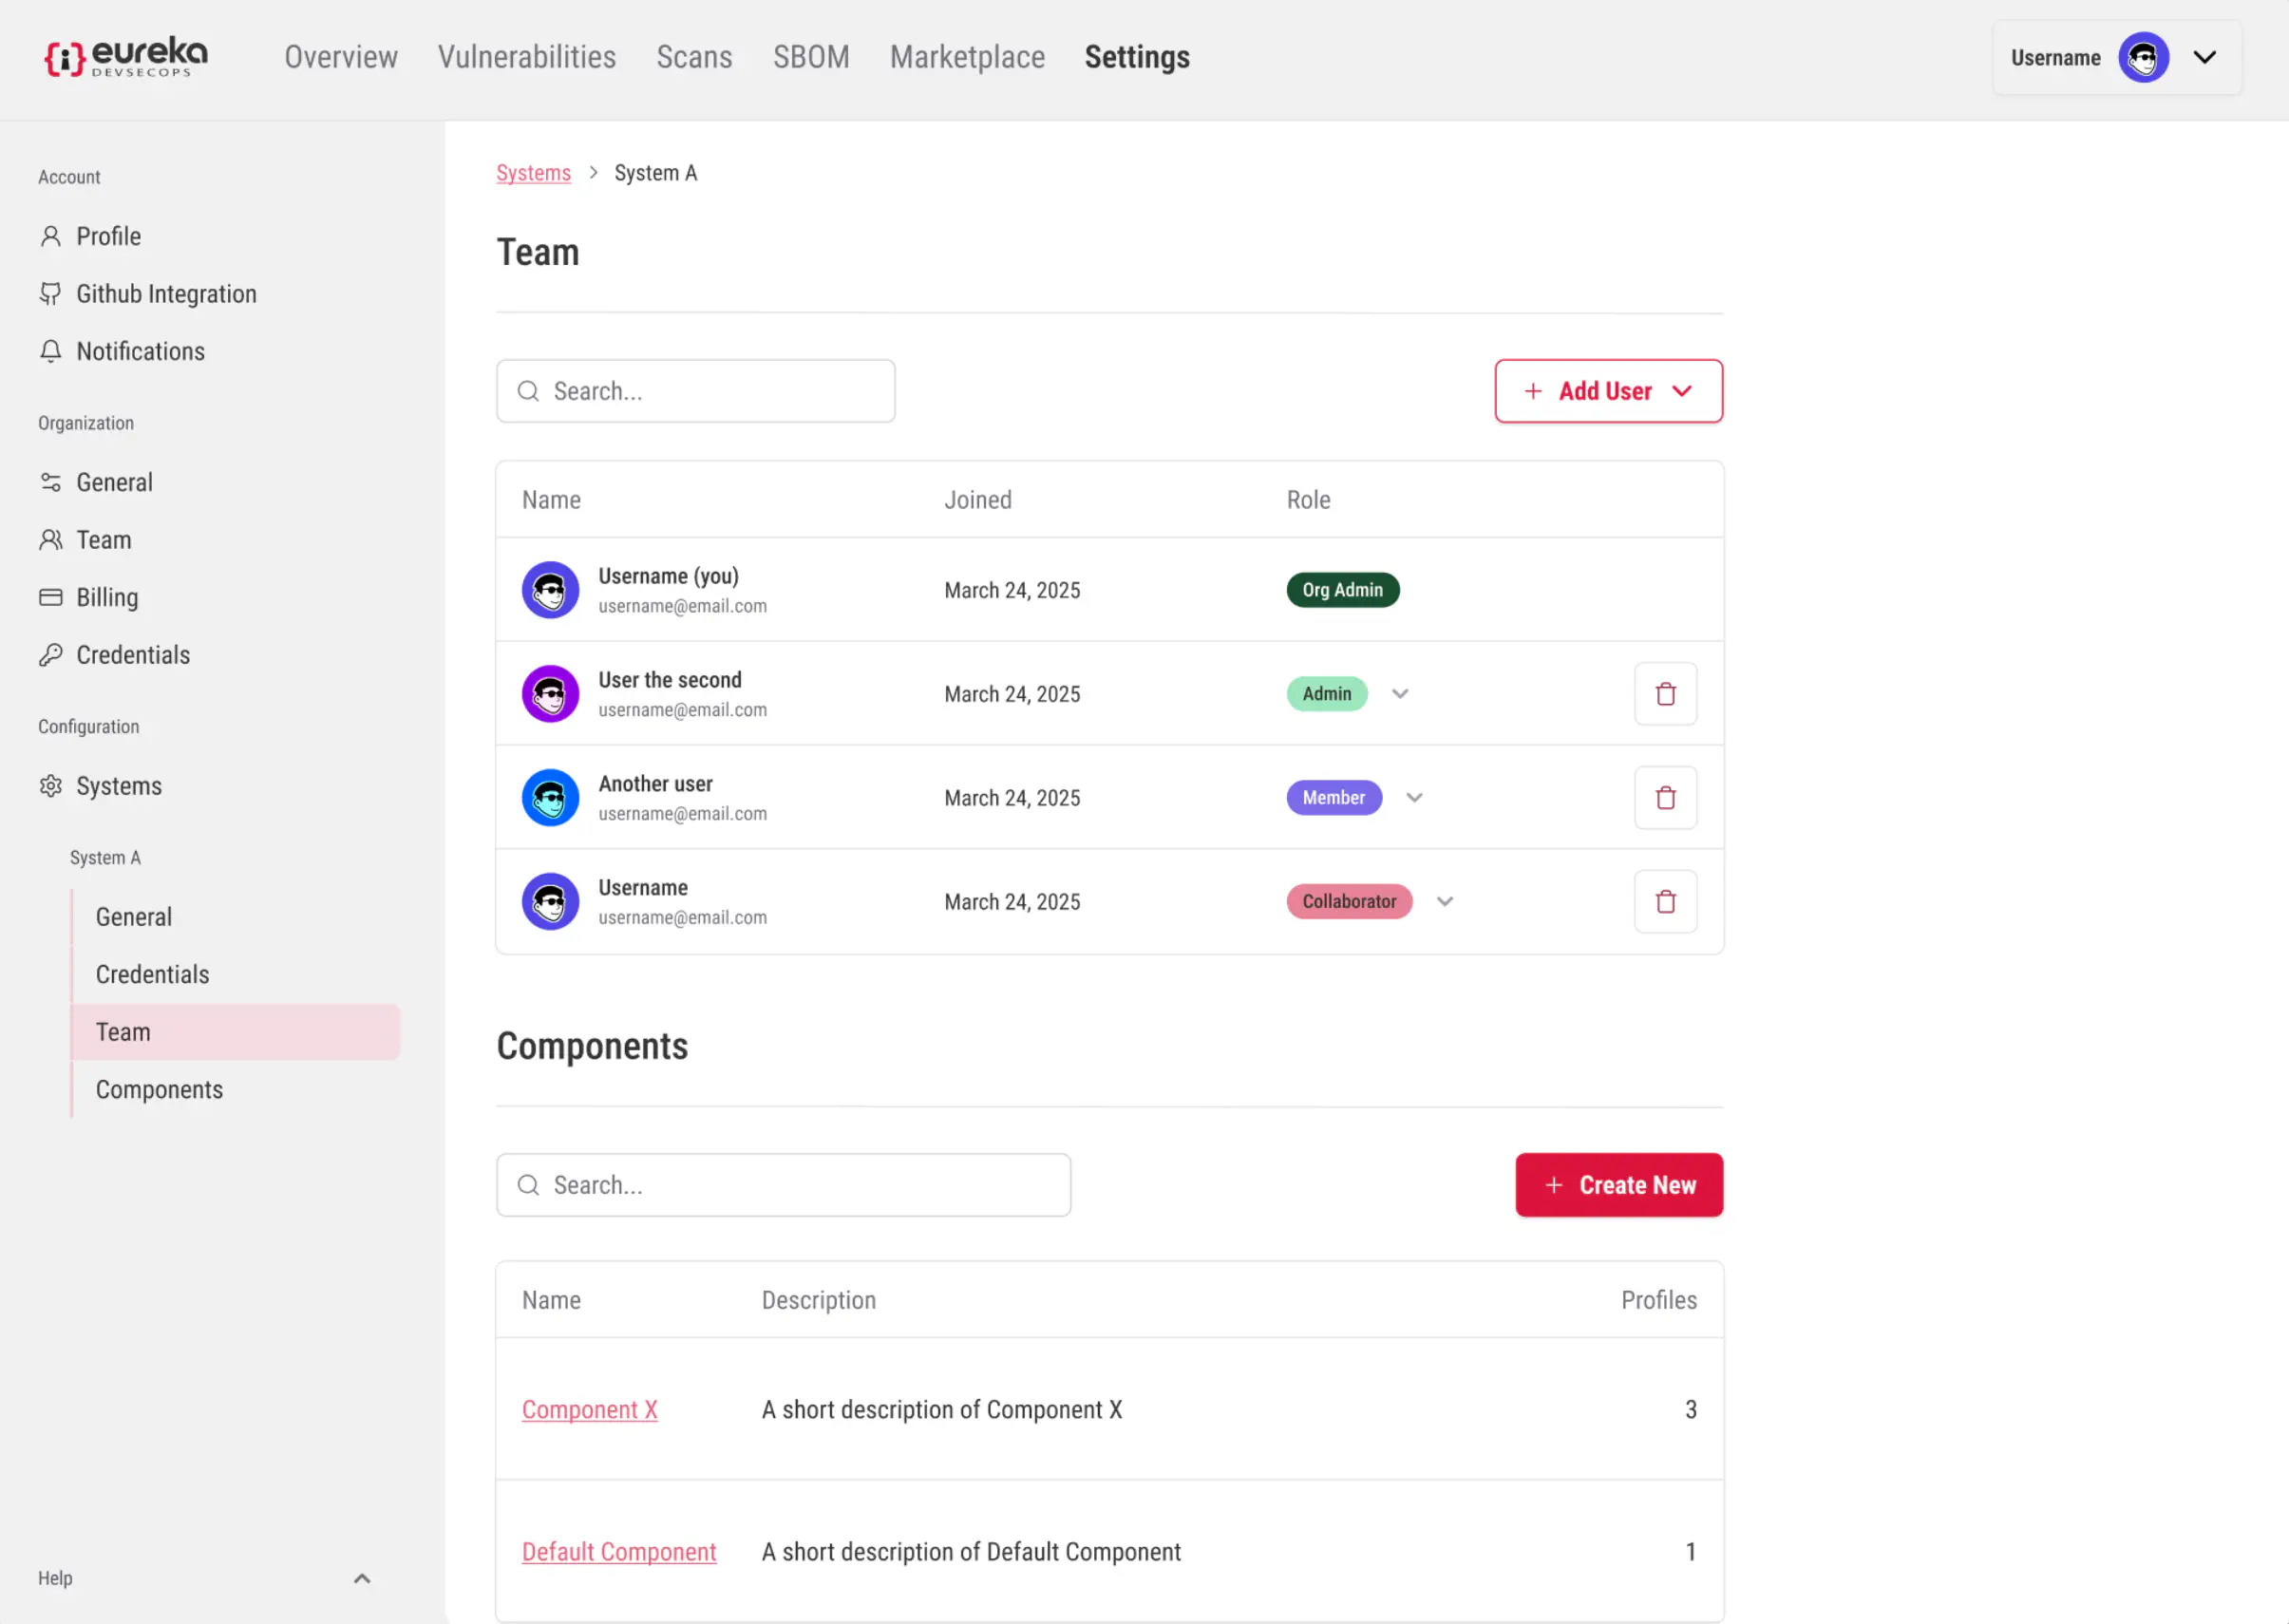
Within the system page, there is also a credentials section. Within this section, you can add, remove, edit and refresh credentials for this system.

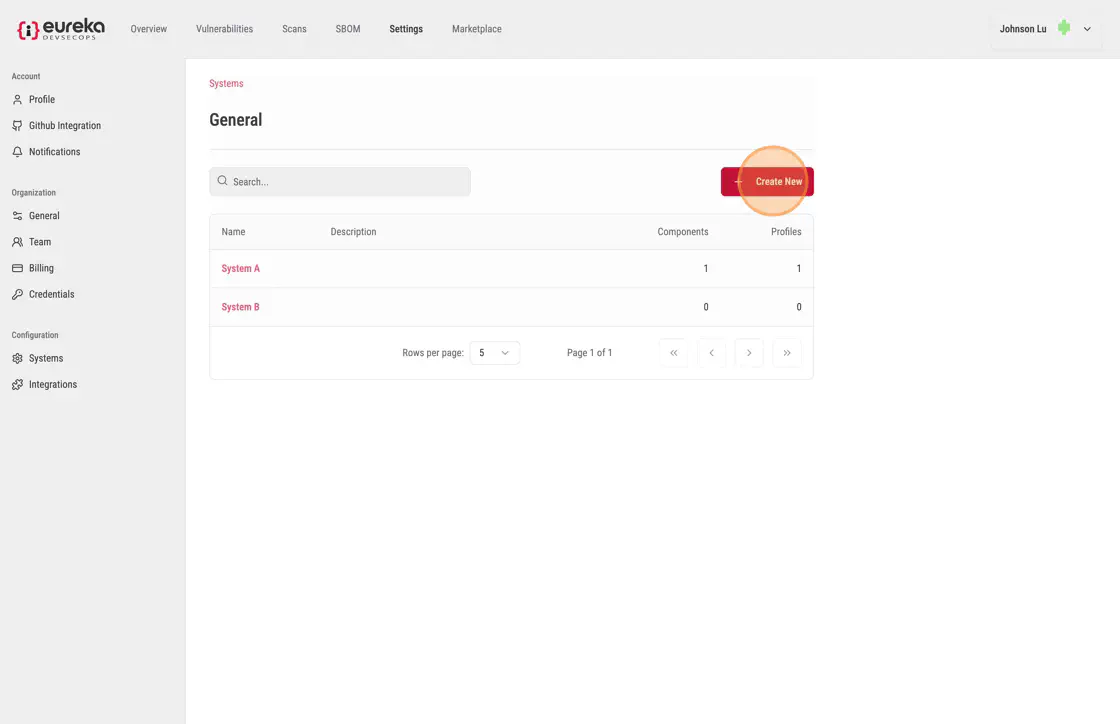
To create a new system, click Create New
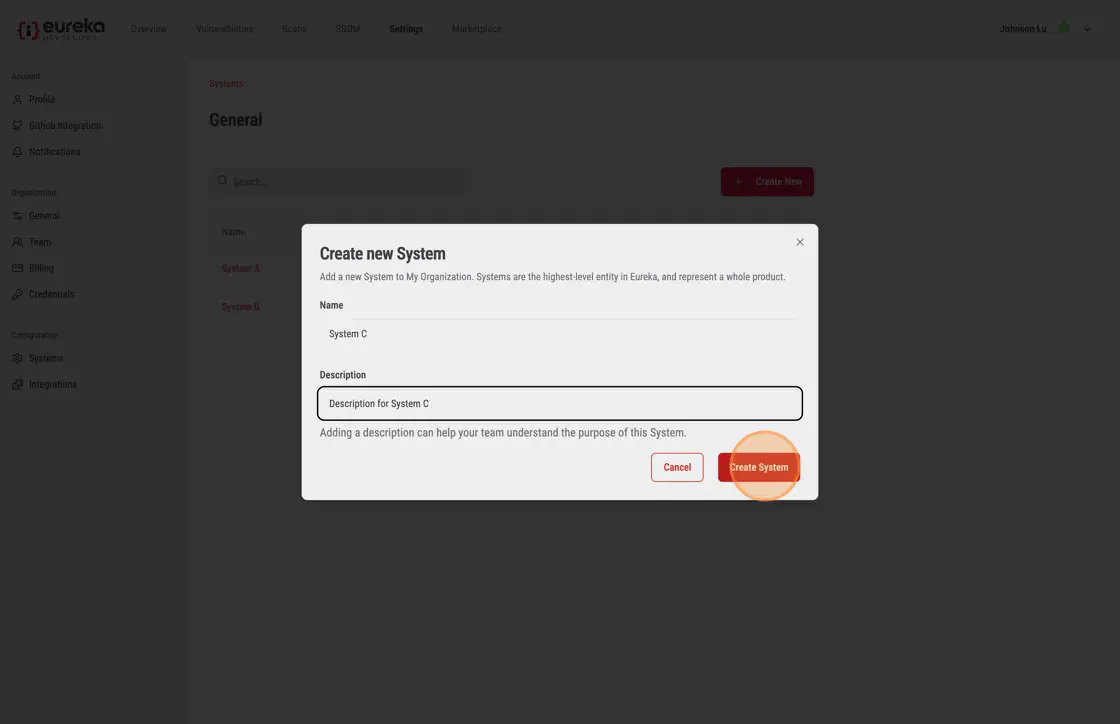
Then fill in the new system fields and click Create System
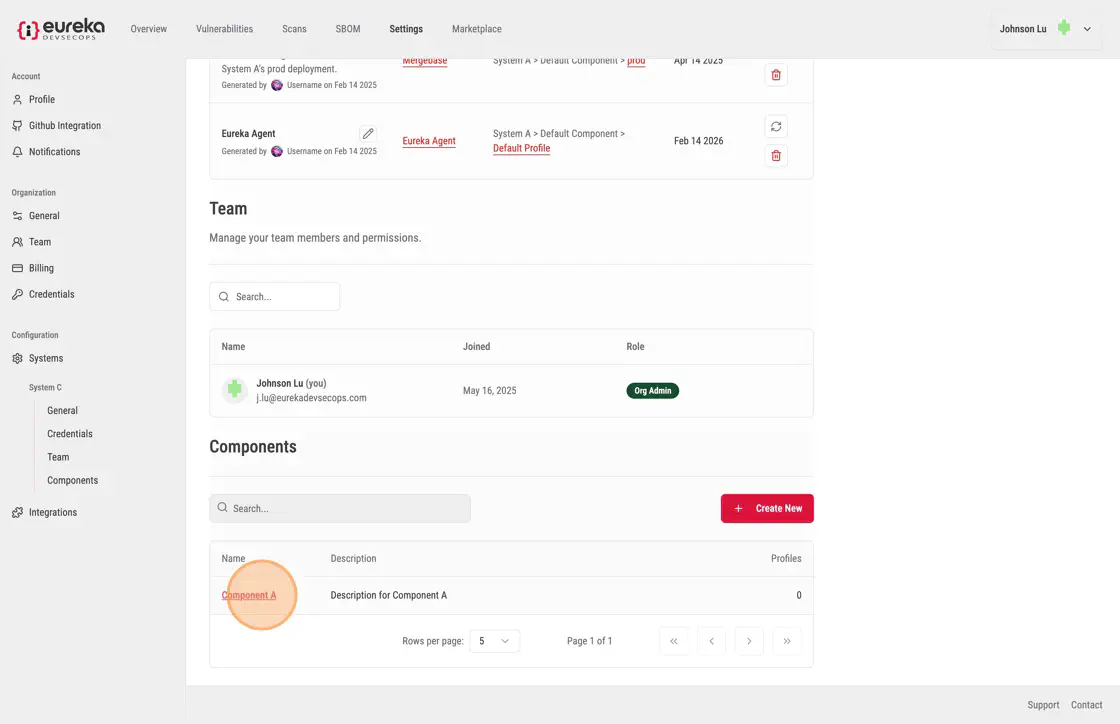
Components are units that make up an application system. For example, an application system may have a front-end component and a back-end component, or it may have many components for different services.
One component is typically linked to one repository, though this is not always the case. Often, one component can be built into one software artifact, but this artifact may be deployed into multiple environments.
To create a new component, select the system you want to add your component to
Then navigate to the components section within a system page, and click Create New
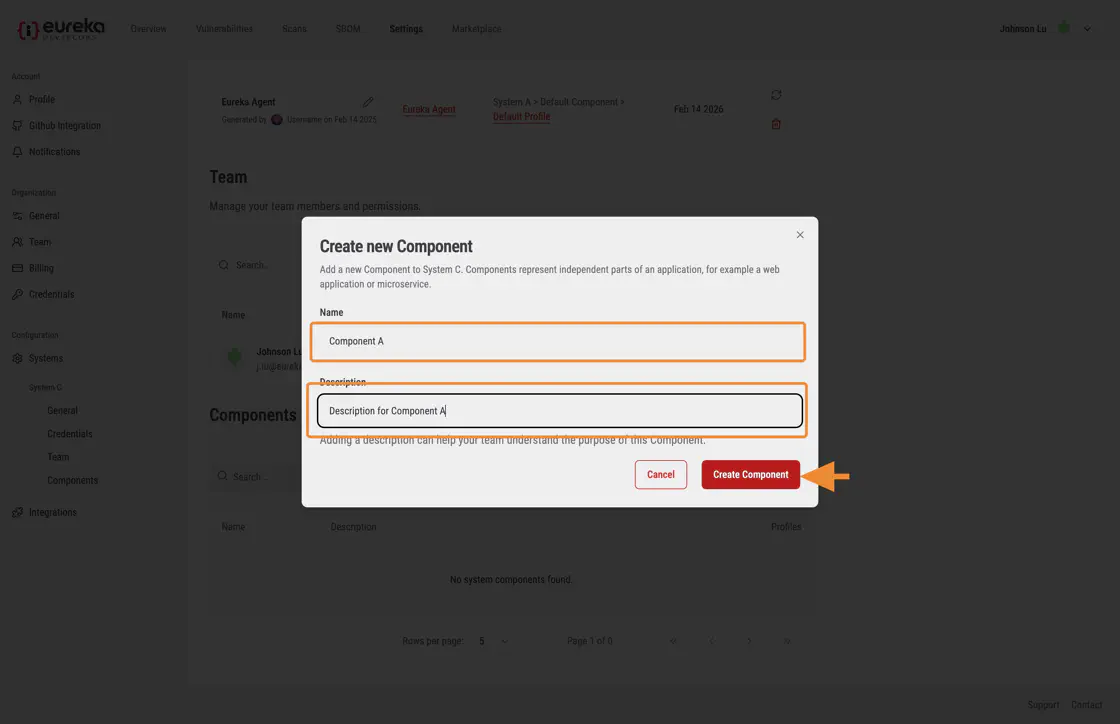
Then, fill in the infomation for the new component and click Create Component
A profile is a set of scanner configuration options that are specific to a pipeline step or command that runs Eureka.
You can create multiple profiles for each component. Creating multiple profiles for a component can be useful if you want to run Eureka with different scanners or configurations during different pipeline stages or in different environments. For example, you may want to create one profile that runs SAST and SCA scanners during the continuous integration stage, and another profile that runs a DAST scanner after a deployment. Additionally, you also can make a profile to simply scan code and report vulnerabilities after any commit on any branch, and another profile to enforce vulnerabilities that must be fixed before merging changes to a protected branch.
To create a new profile, select the system you want to add your profile to

Then, navigate to the components section and select the component you want to associate your profile to.
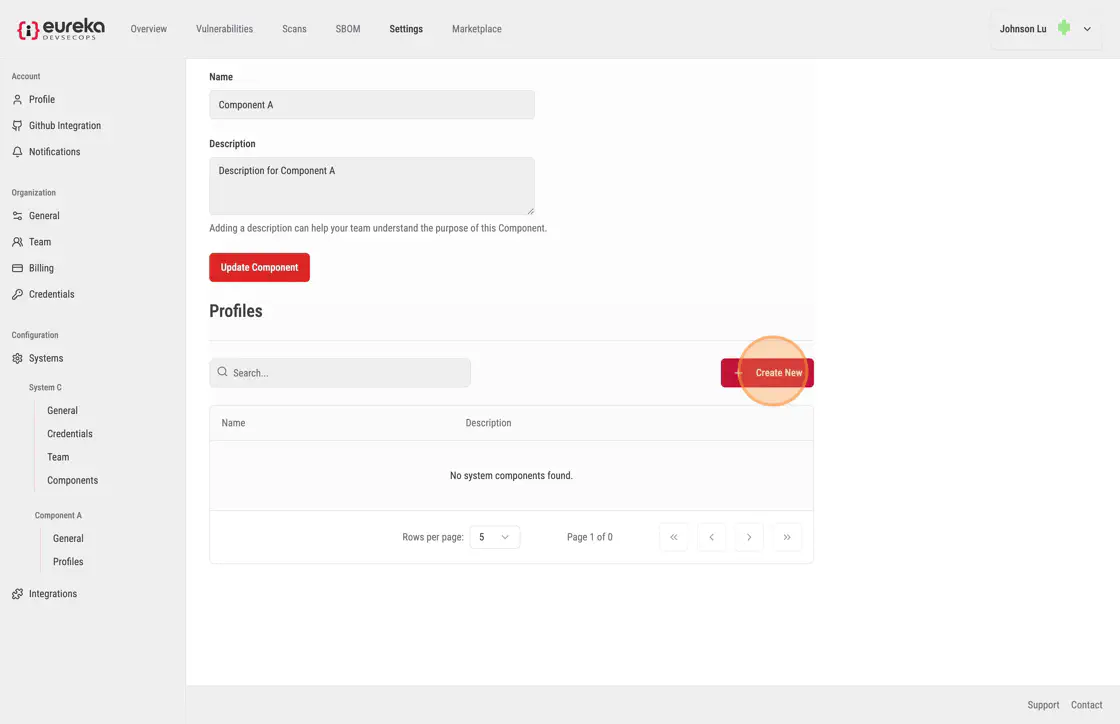
Then, navigate to the profiles section in the component page and click Create New to start creating a new profile.
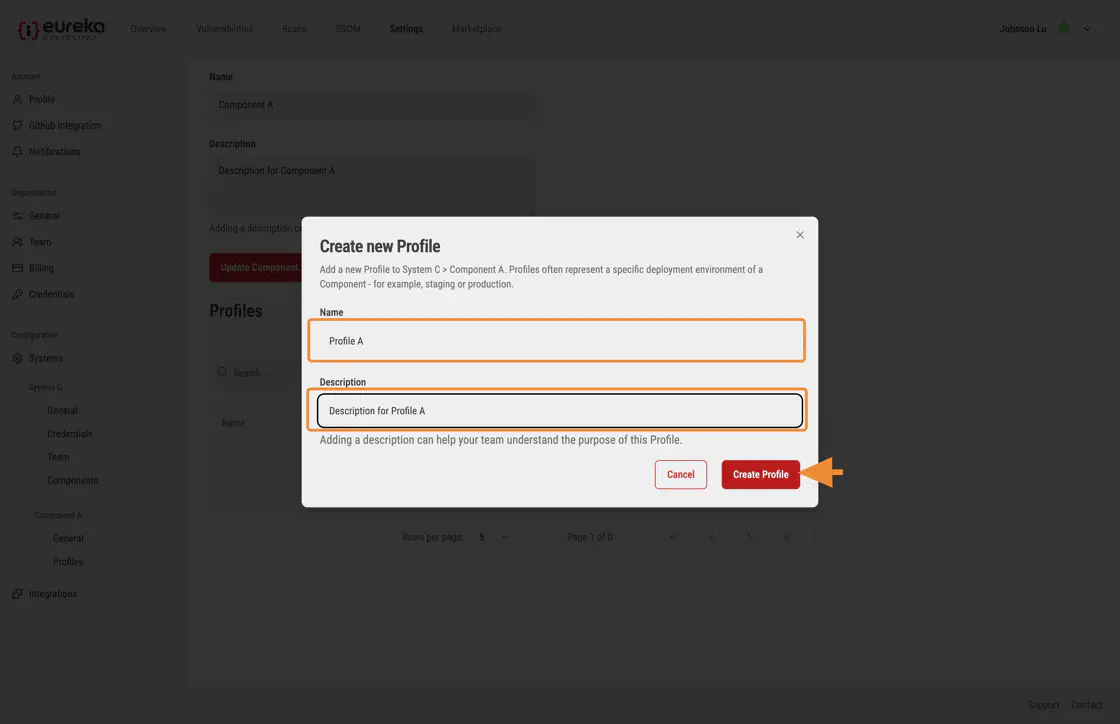
Fill in the required details for the profile, then click Create Profile to save it.
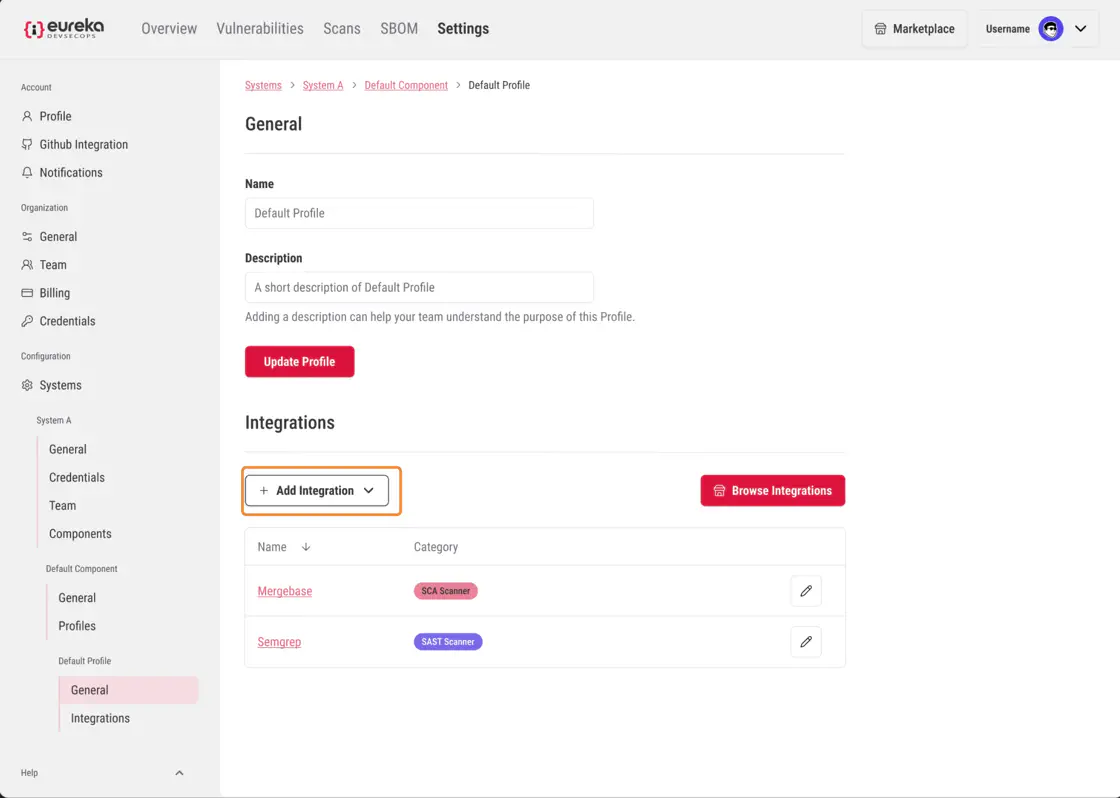
In the Profile page, users can either quickly an integration or explore integrations options through the marketplace page.
To quick add an integration, click on the Add Integration dropdown menu
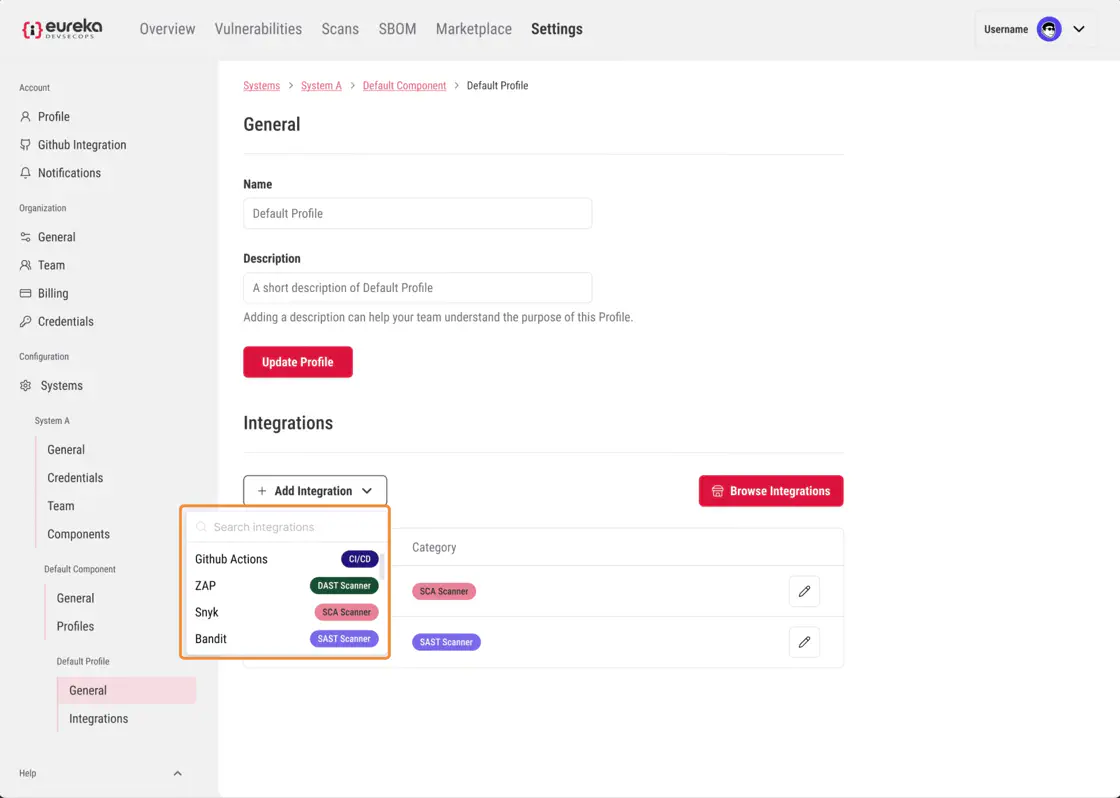
Then, click on the integration which you want to add to your profile
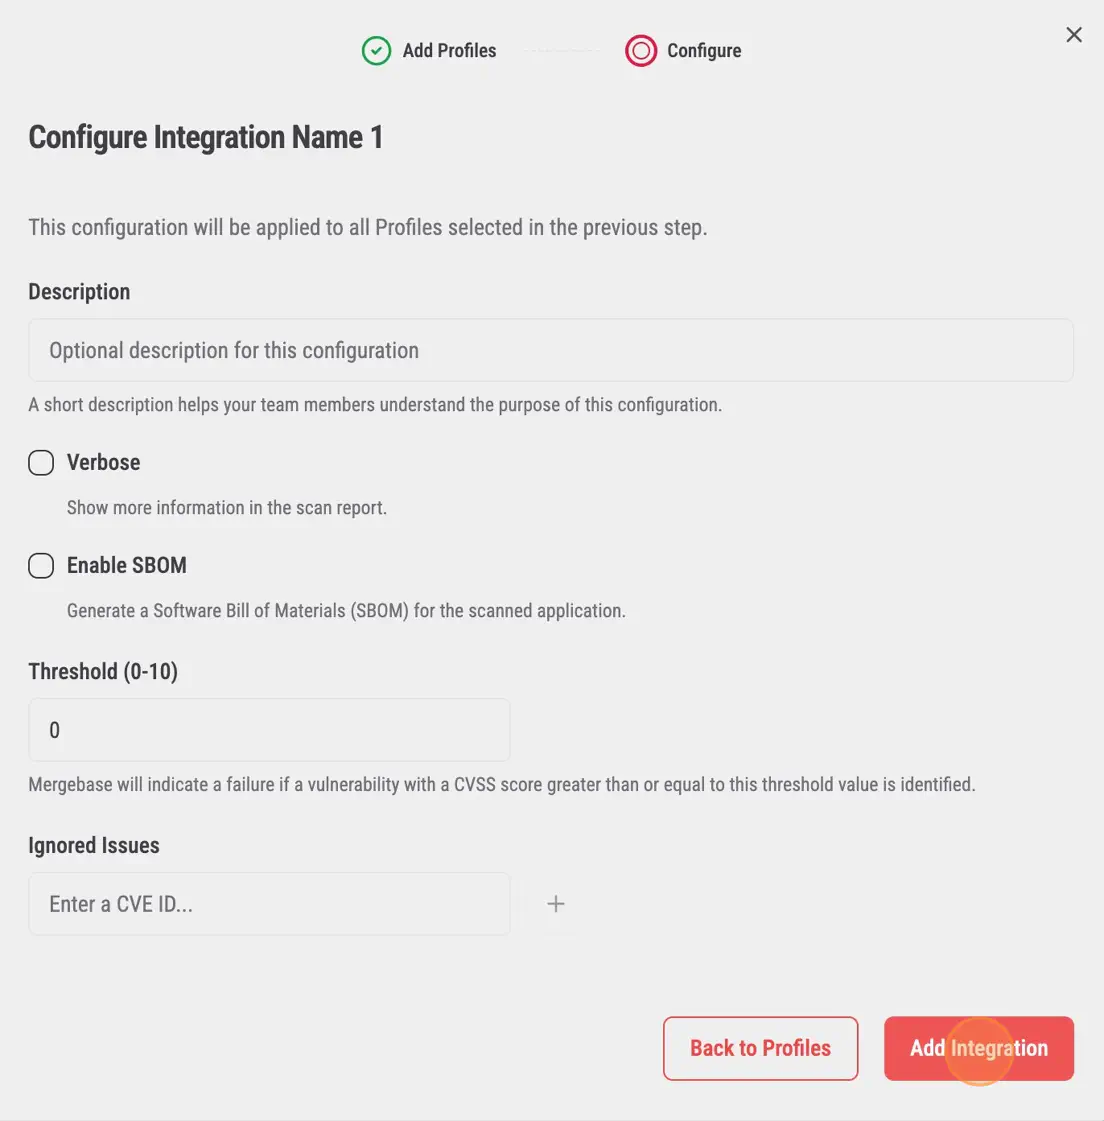
Select the configurations you want for your integration and click Add Integration
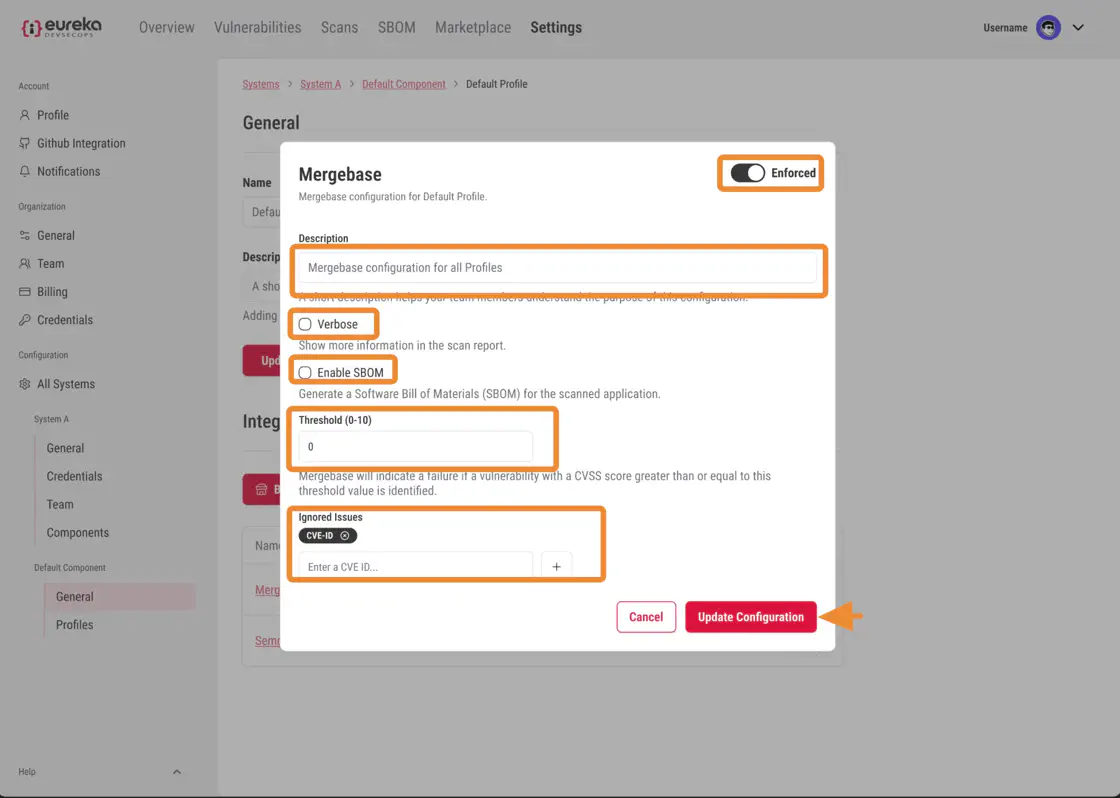
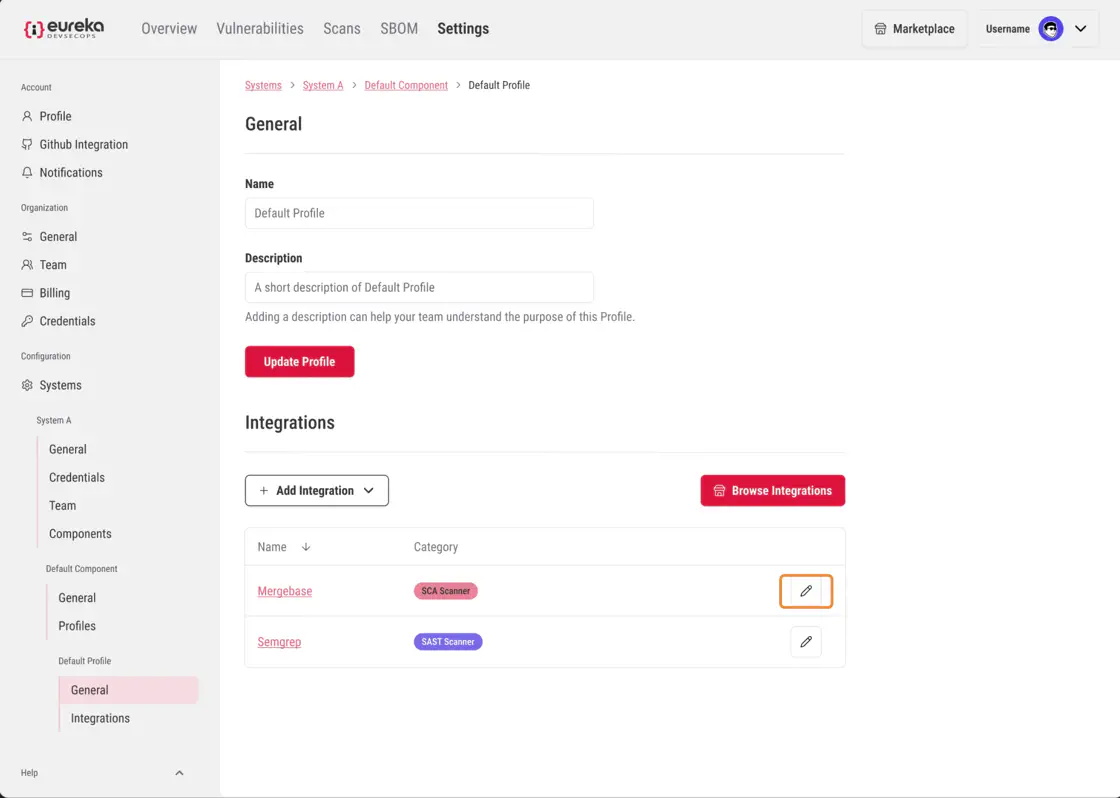
To edit integration configurations, click the edit icon next to the integration
Then, make the edits you would like to make. Then, click Update Configuration when you are finished